I – Lowpoly mesh preparation
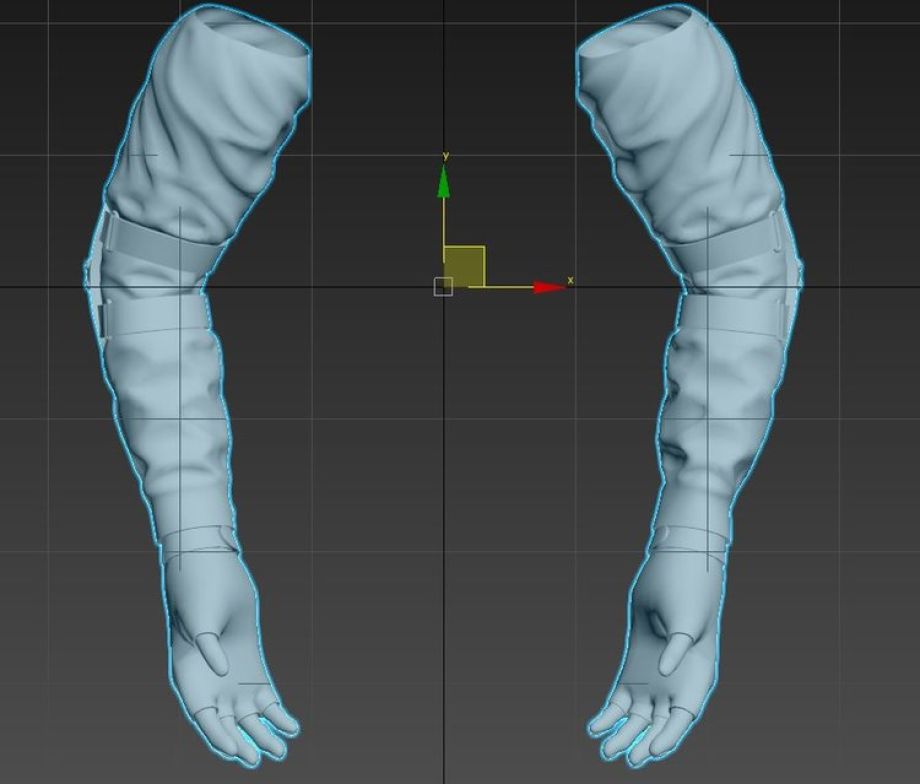
The first thing to think about is what neutral pose the arms will be in. You can either create them in a straight neutral pose which is easier for the rigger but harder for the sculptor, or you can create them in a pose that fits the position they’re most likely to spend the most time in. I went for the latter. Just note that it’s harder to accurately rig a pre-posed arm.
When you create the lowpoly for your FPS arms rig, you should double-chamfer knuckles and other areas that will be prone to large angle movements. You can blend these double-chamfered polygons between adjacent bones later with minimal UV stretching. Before you begin rigging the arm, ensure that you’ve created the UV map and textures for the lowpoly as you normally would. The diffuse texture will be very useful in 3DS Max when looking out for UV stretching. UV stretching happens when a bone is given too much weighting on a particular face or set of vertices on the lowpoly. You want to avoid this as much as possible for a good rig.
II – Creating a custom skeleton in 3DS Max for FPS arms
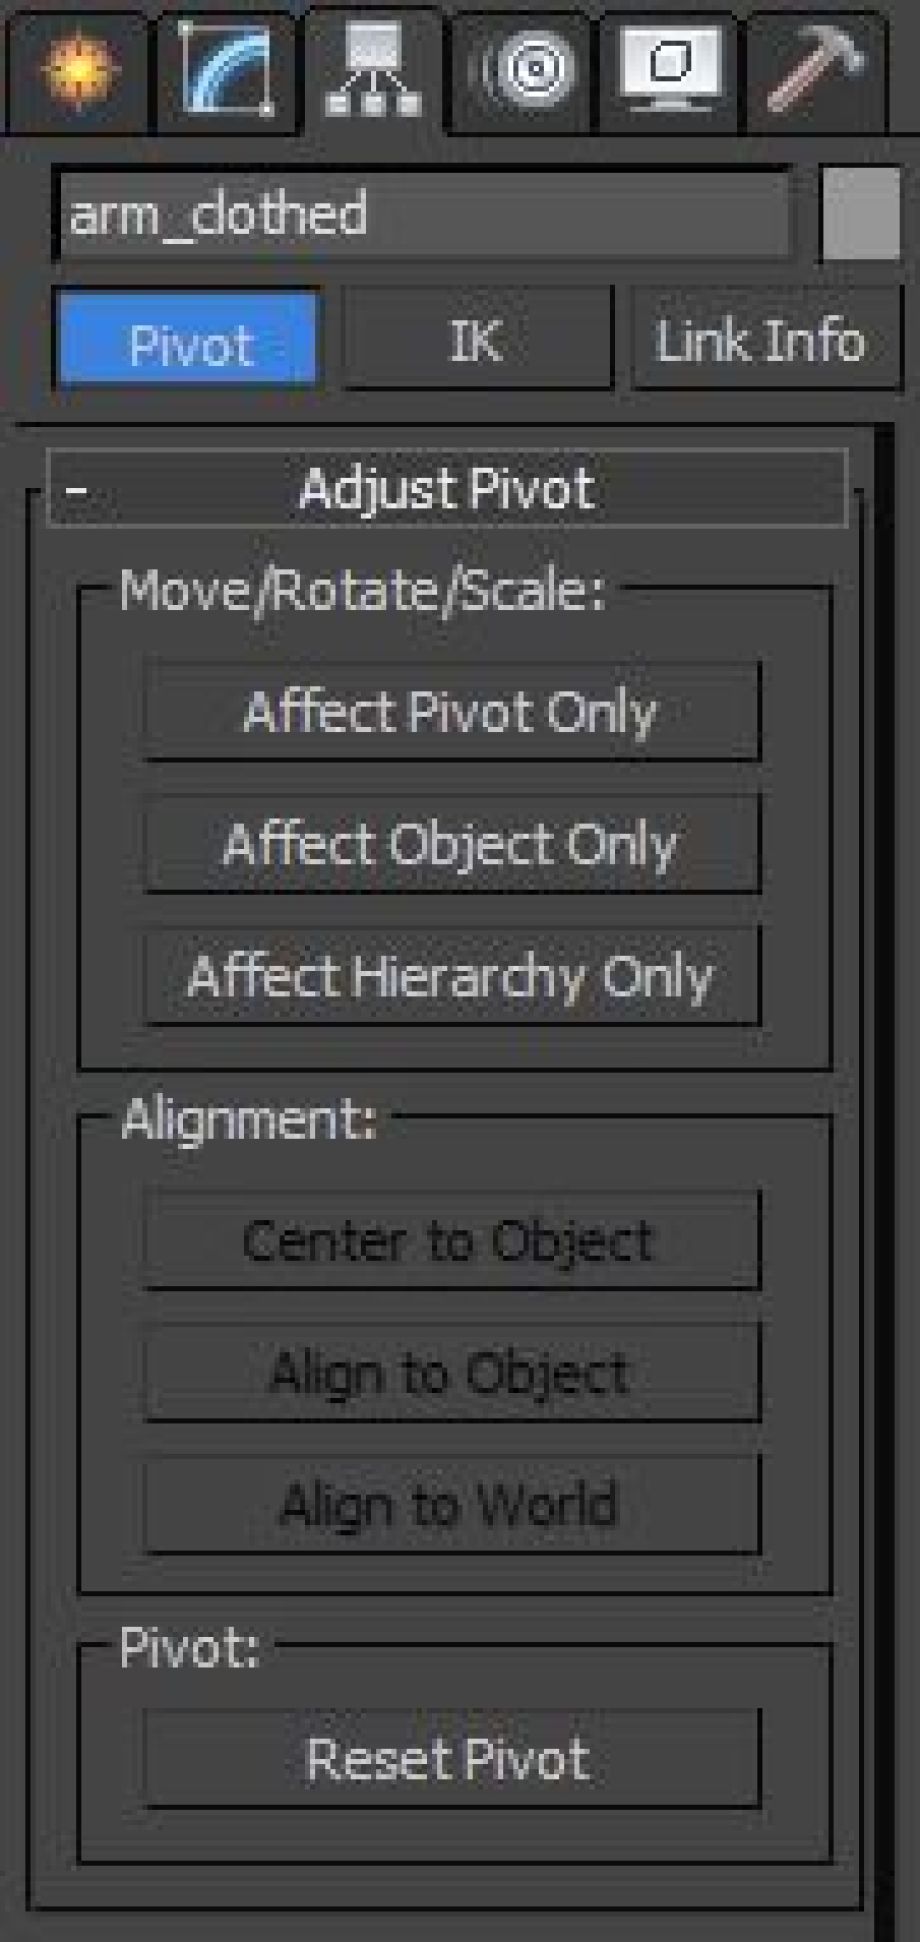
Select Affect Pivot Only under Adjust Pivot and under Alignment, select Center to Object.
Deselect Affect Pivot Only and move your rig to 0,0,0
Alternatively, if this moves your arm rig too far backwards from the centre point, move the rig forwards using the transform controls, reselect Affect Pivot Only and centre to zero using the panel in the last image above. We will begin creating the skeleton. Press ALT+X on the arm mesh to toggle xray mode so that you can see through the mesh.
right click and press ‘Freeze Selection’ so that while you’re working you don’t accidentally select the arms.
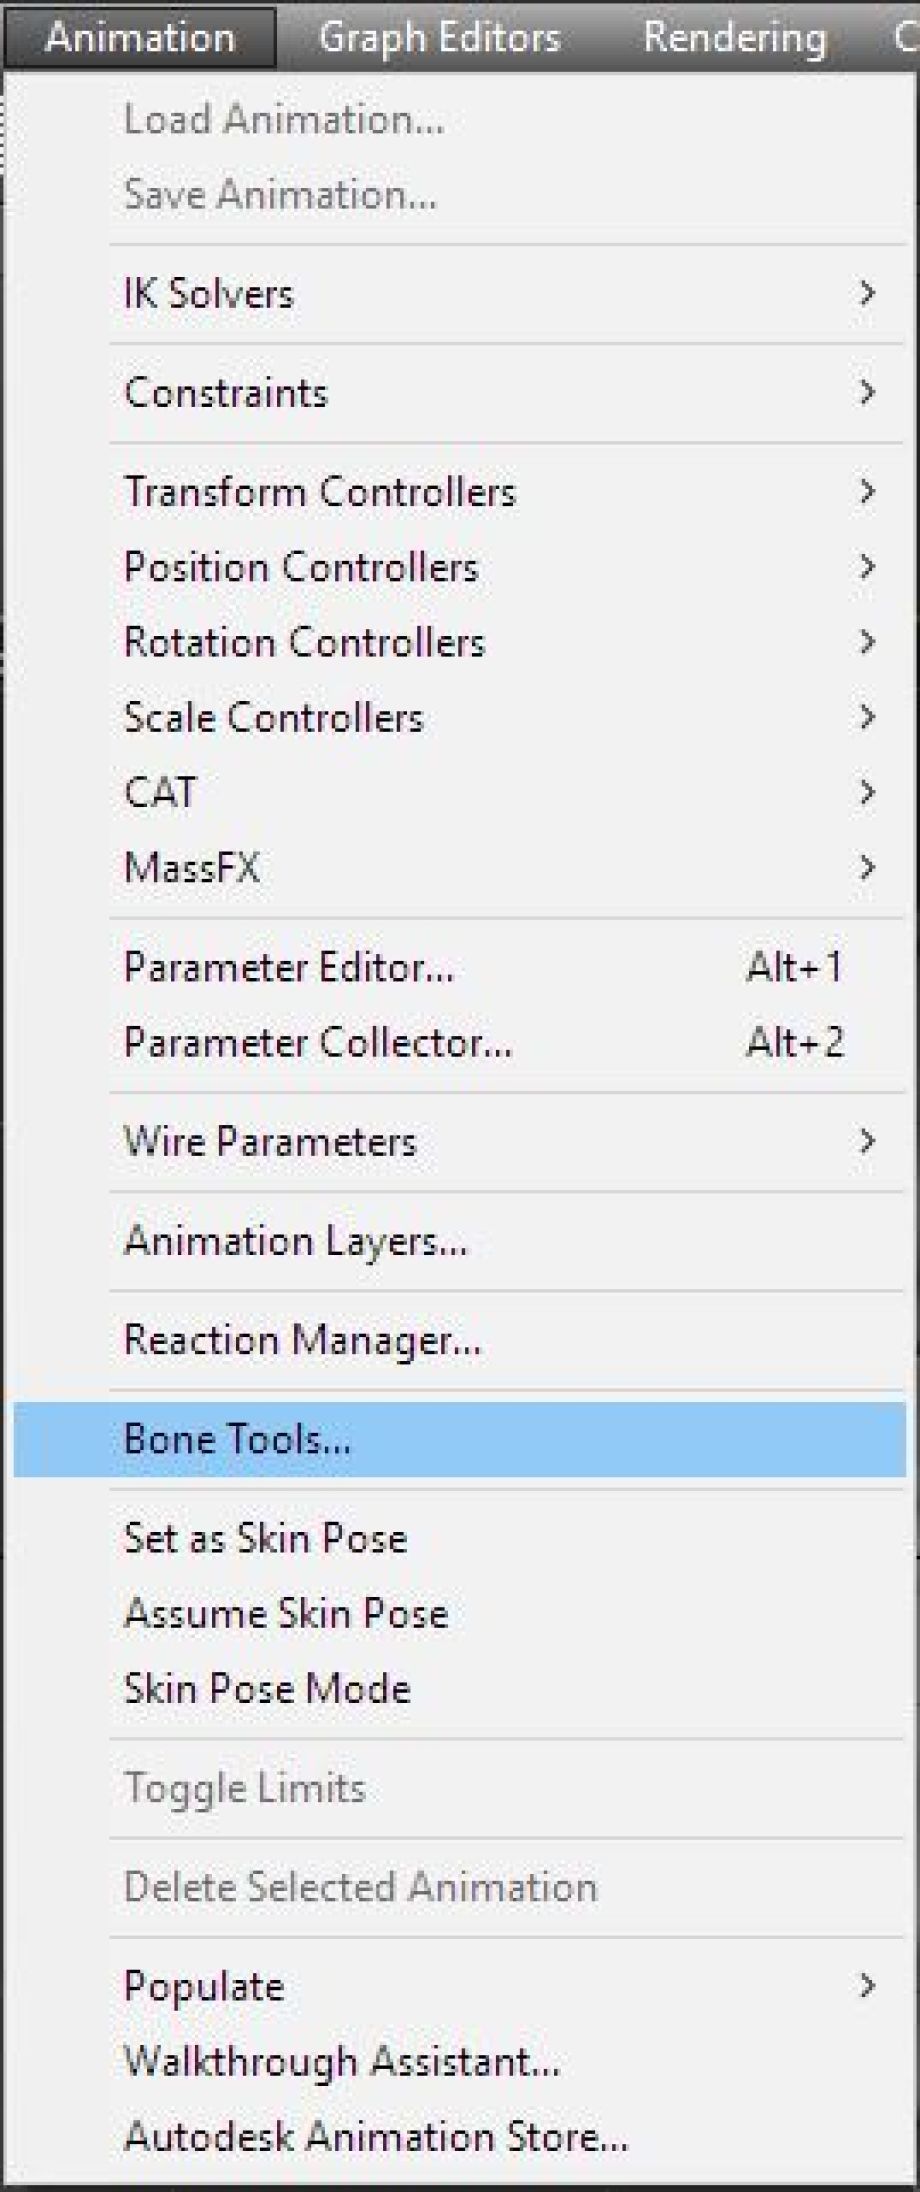
Go to the Animation panel and select Bone Tools.