Original Post: Alfred Roettinger
I’m Alfred Roettinger , currently working as Lead Character Artist at Starbreeze Studios in Stockholm.I have been an artist in the games industry for a long time but have worked with characters more specifically for the last eight years.In my role I am always looking for ways to push quality within the team without negatively impacting development time and TexturingXYZ plays an important role in how we do that. It allows us to push the fidelity in our characters easily and has become indispensable to our workflow.In this tutorial I’m going to go over how to use the iris maps to create a convincing real-time eye in Marmoset Toolbag, using Maya and ZBrush. As well as how to use different shaders effects like refraction, caustic and sub surface scattering for the final image.
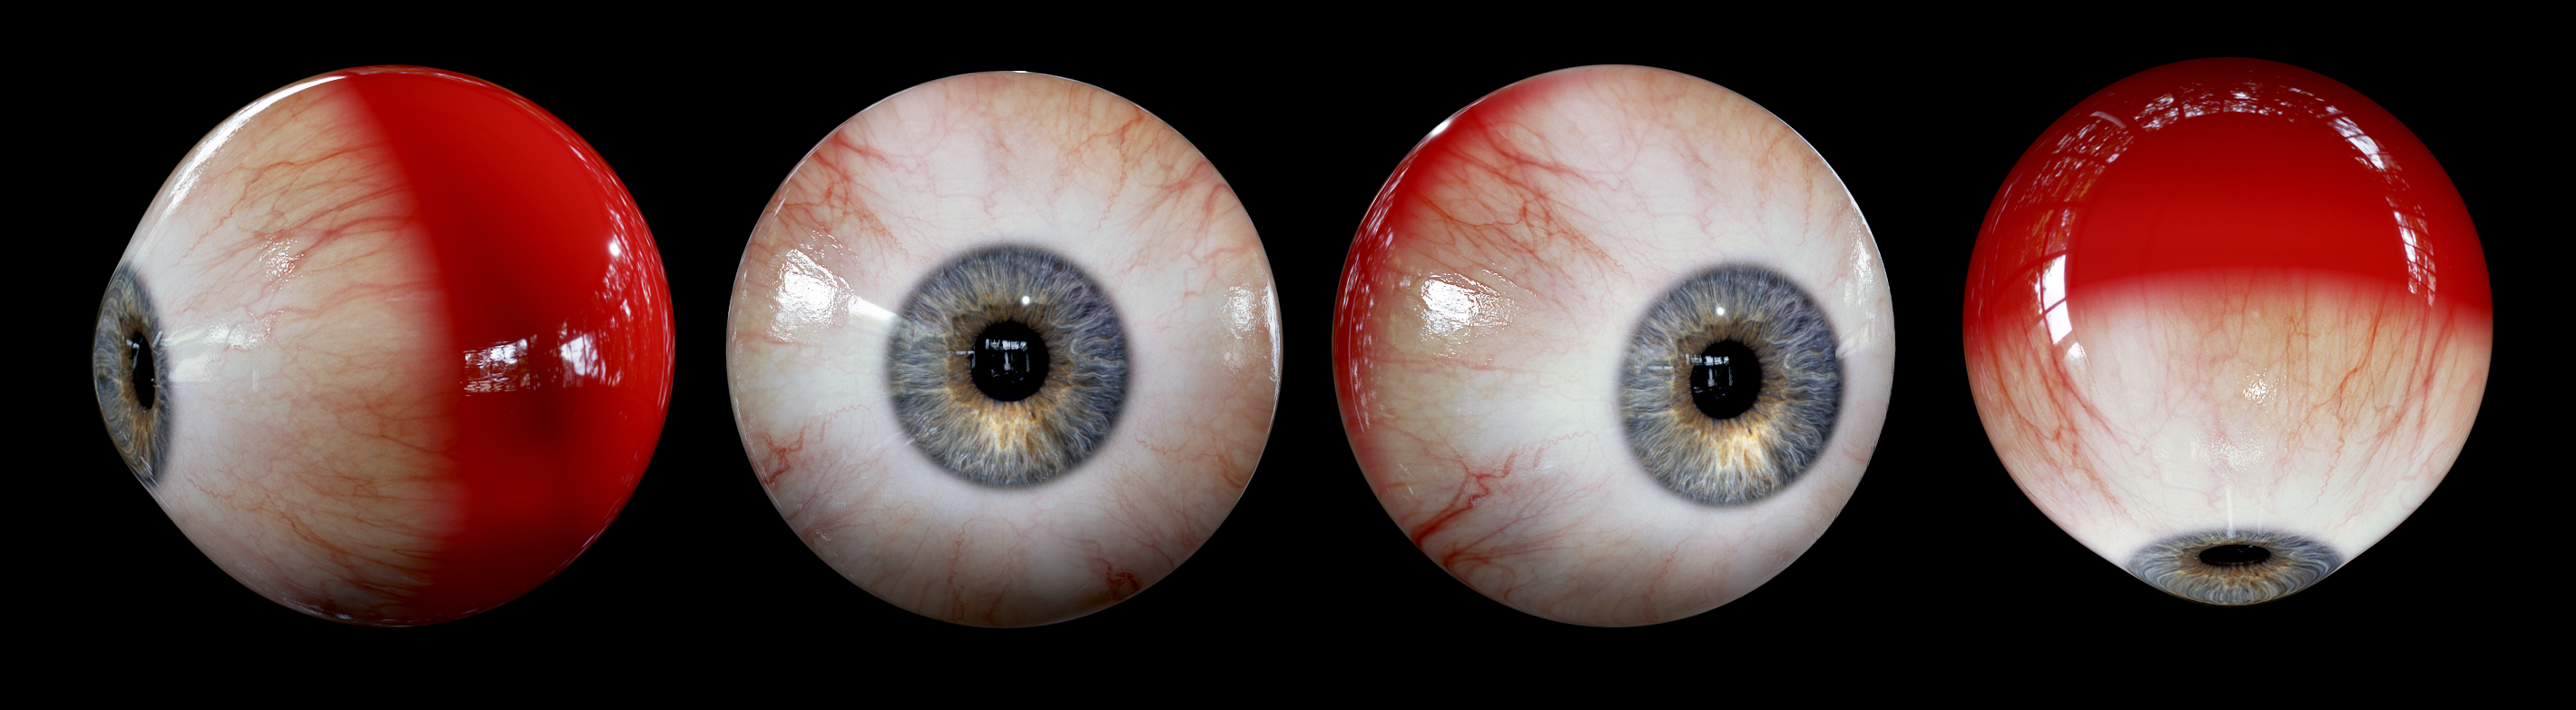
Modeling the eye in Maya is a simple task but requires a few different components in order to create a realistic result.
For this we will need to make several meshes.
The sclera is the white part of the eye and will use an alpha to transition to the iris, the cornea is the clear part of the eye over the iris and the retina is just a bit of mesh behind the pupil. I usually model the cornea mesh starting with a Sphere then using the Edge Flow options in Multi-Cut along with soft select to create the dimple. I use a polygon Torus primitive scaled to form a Disc for the iris mesh and the sclera is just a duplicate of the cornea mesh deflated a little using the Transform Tool under Edit mesh.

UVing the meshes is pretty simple, just Planar Map the objects then use the Unfold Tool to relax them if needed.Map the retina mesh onto the pupil part of the iris texture so it has a blackish color. It is important to UV map the sclera and cornea in a way that allows more resolution near the front of the eye as this is the part that will be seen most, a simple soft select and scale can create a nice soft transition.

For the cornea layer I like to create a height map from my sclera texture to generate a normal map so you can see the subtle breakup of veins on the sides of the eyes. You can sculpt this part in ZBrush but its such a slight effect I find using something like Knald or Quixel works well enough.